Mock Exam
Cropping Photos to improve the quality of an image.

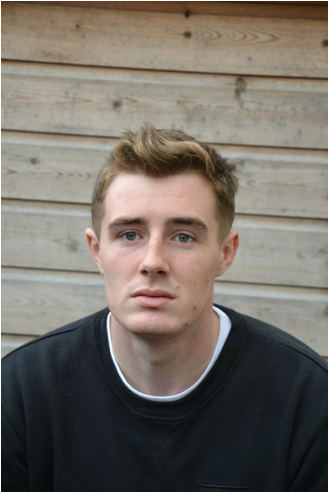
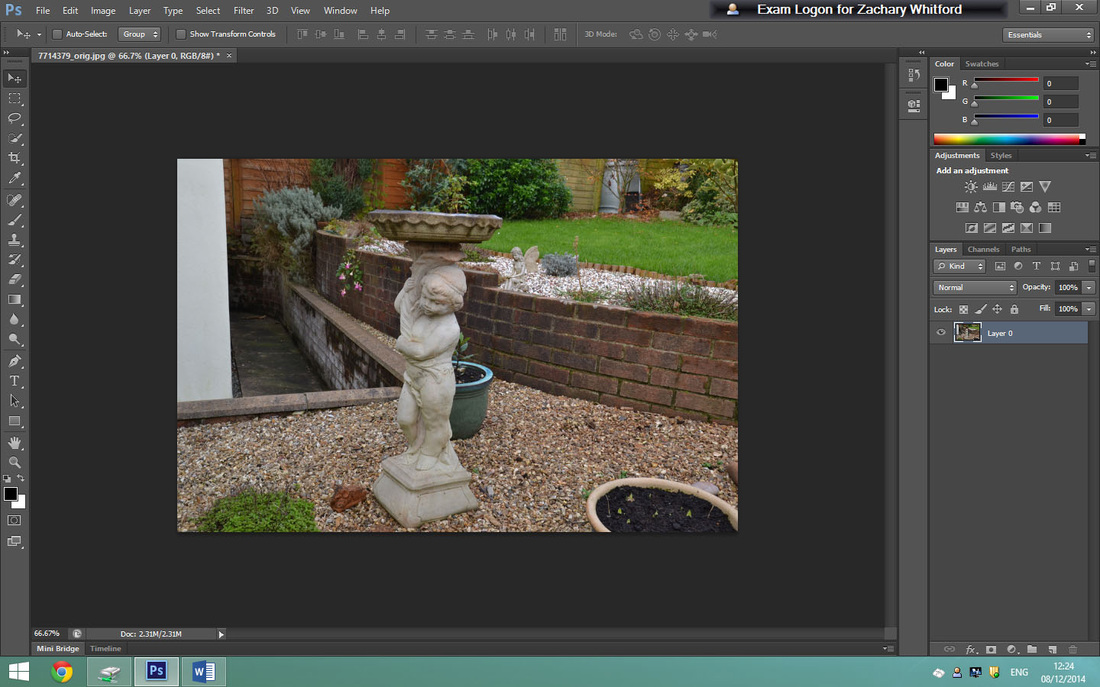
First of all I needed to choose a picture that I felt needed adjusting, I have chosen this picture because I wanted it to be a close up. To make it a successful close up I will need to take out the right hand side of the image seeing as it does not contribute towards the image. If anything the orange fence draws the viewers attention which is not what I wanted the viewer to be interested in.

After identifying what I wanted/needed to change to the image, I have to start cropping. I pressed the button "C" on the keyboard to take me to the crop tool (shortcut) and began scaling down. I used the rule of thirds which is shown above in the screenshot to get a good idea on where I wanted to finalize the crop. For example the things that are interested should be crossing the intersections, which they are and they are equal on each side. This helped me measure how far in towards the neck I should take the cropping. By editing the image this way it has allowed me to focus the viewers attention to specific areas that I want them to view. as well as this the editing also helped me to improve my composition.

Once I had hit enter it then scaled down the image to what I wanted it to be, this was the final result.
Layering - To produce a creative and balanced layered image.
I had to choose an image before starting the editing, this time consisted of thinking what images could go well with others and how I can incorporate them together.
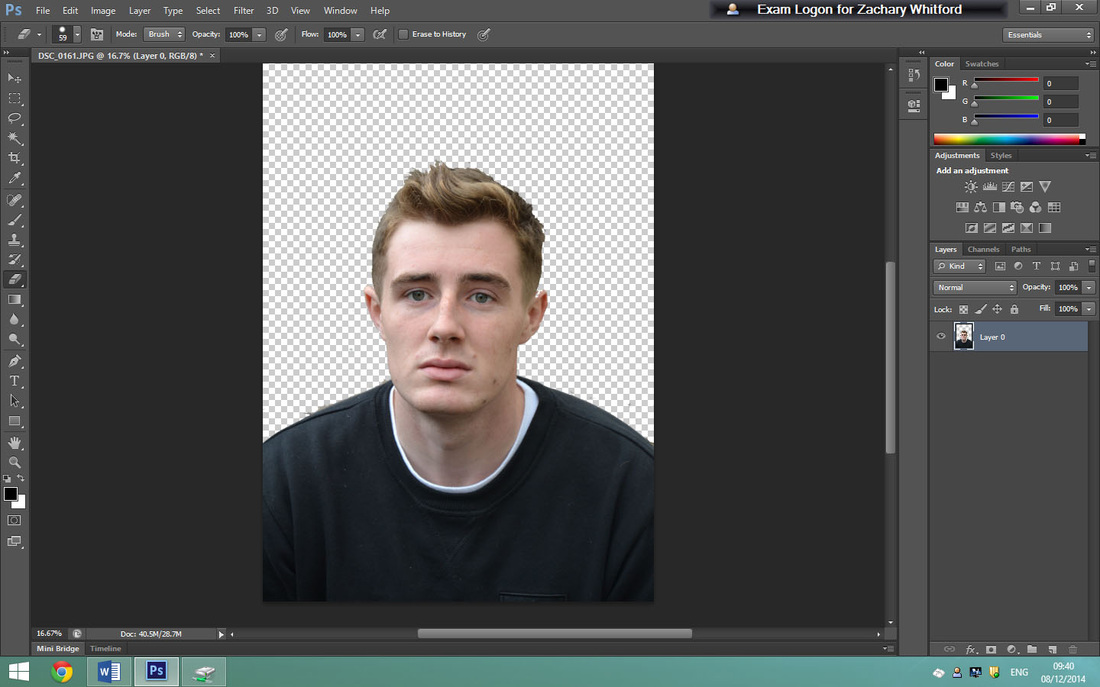
I began to edit the photo by removing the background layer so I could merge the images together easier, with two backgrounds they wont merge well even if the opacity is turned down because they both have backgrounds which don't look a like therefore they stick out. I removed the background with the magic wand tool, selecting different tolerances as I went through. I also wanted to take a little bit of the portrait away so that the image I merged it with would show through the portrait.
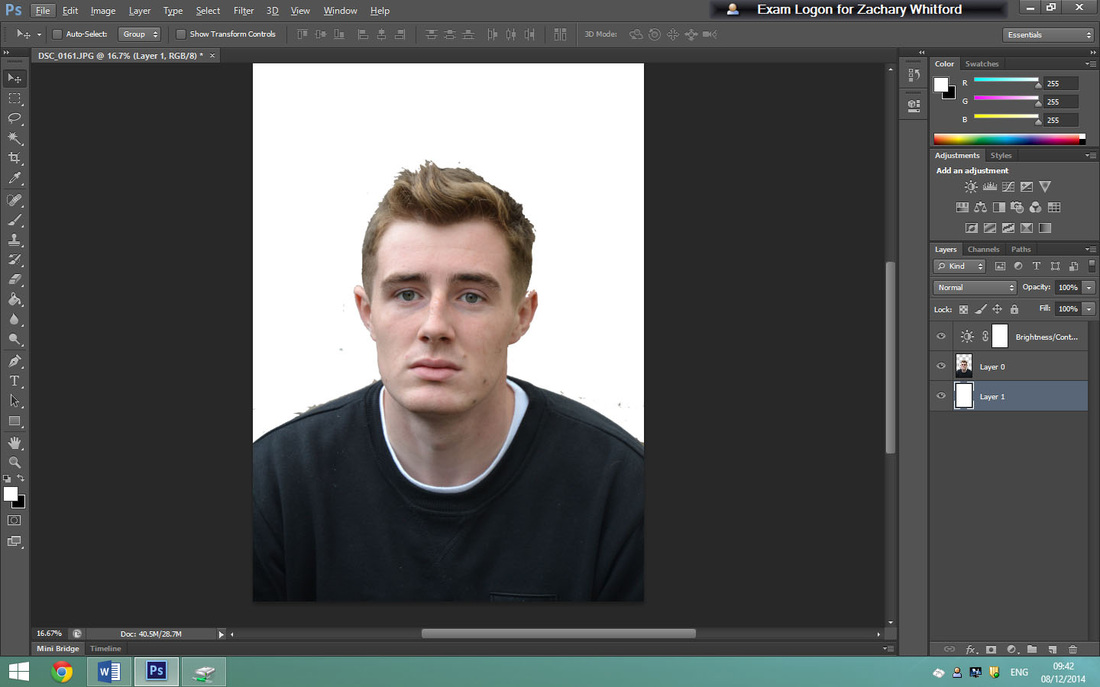
After erasing the wooded background on the original photo I replaced the background with a layer of white. This is because i wanted to see if there were any parts of the background still left over. There was. After identifying all of the left over background pieces I removed them and proceeded with editing.
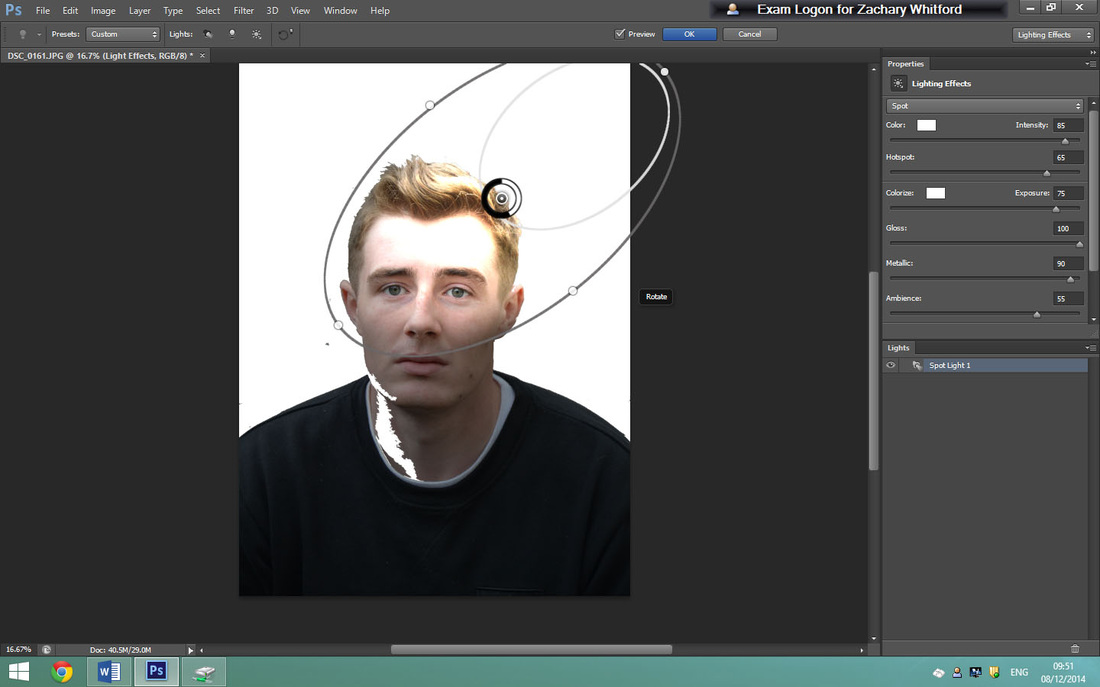
After removing all of the background and a slight bit of the portrait I decided to add in lighting effects. This would come in handy when merging the other photographs to this portrait because the other images are very vibrant and full of light. This also draws the viewers eye to the face of the person I have photographed because its almost like highlighting a specific part of the image for the viewers to look at.
Then I imported three photographs and began compressing them into HDR (High Dynamic Range.) images. Once that had become a HDR image I then edited the image to fit with what I had edited the portrait like, I added higher detail to create more tone and depth to parts of the tree, I also increased vibrancy so it would fit in with the lighting effects that I had entered into the portrait photo. By doing this it helps to make a more balanced layered image. After I finalized the settings I clicked "OK" and proceeded.
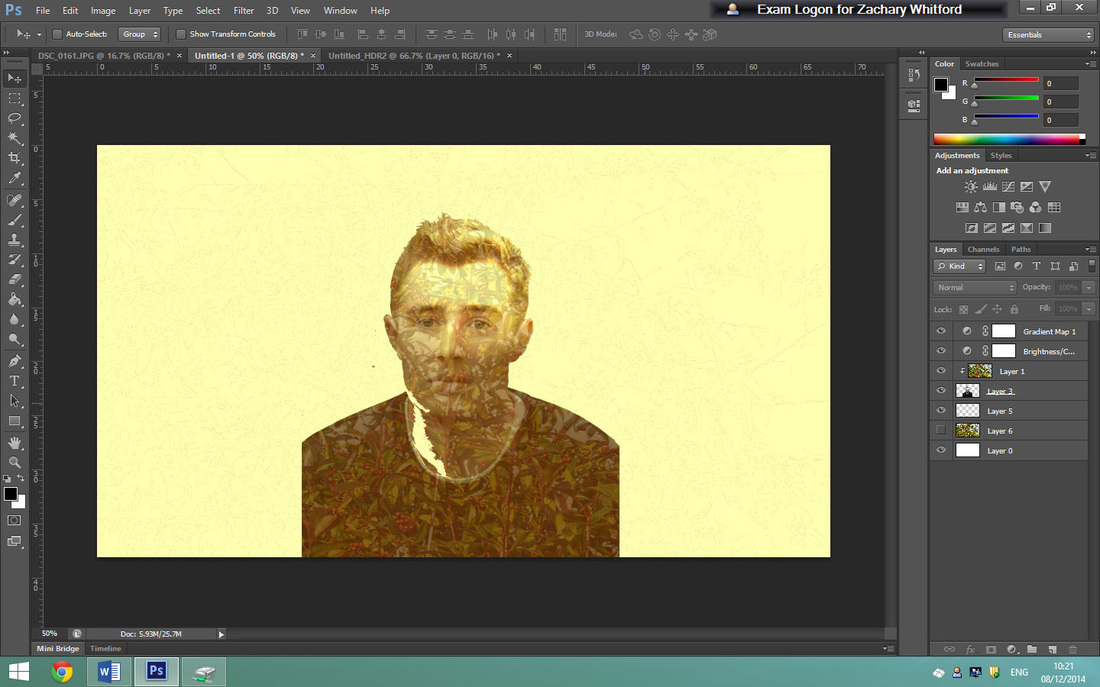
This now meant that I had an edited portrait photo with lighting effects and no background as well as a HDR image with strong vibrancy. Then collated the images into one canvas and layered the images on top of each other. It was now a case of trying to merge the photographs together so they looked more natural.
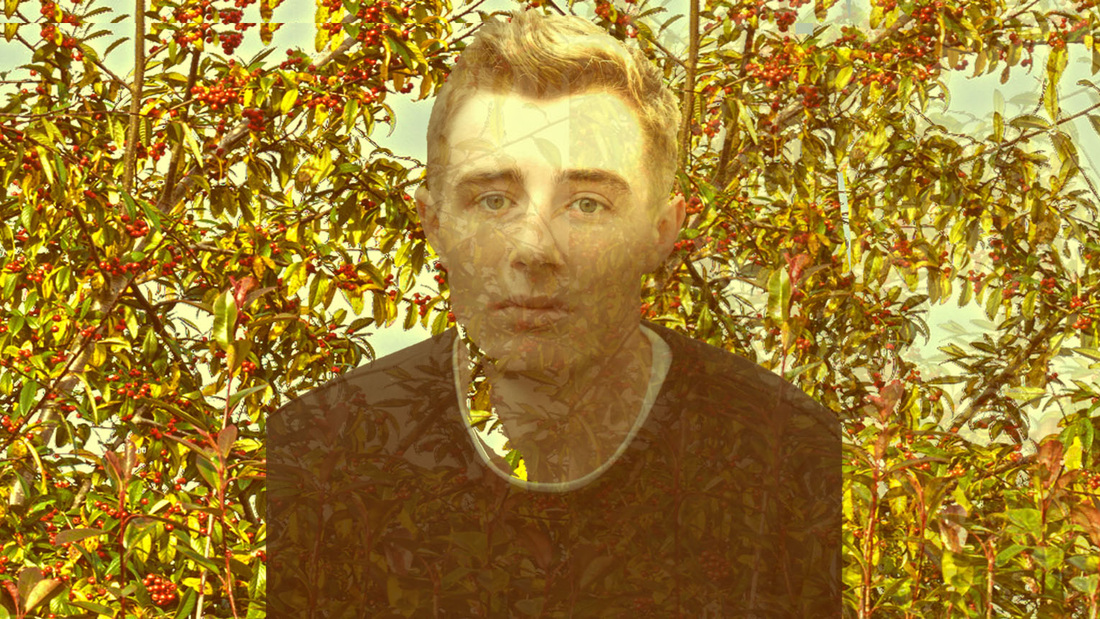
Finally I decided to merge one copy of the HDR image to the portrait photograph and place once underneath all of the images with a white background. The white background lay nicely with the sky in the HDR image, this is why I placed another copy of the HDR image underneath all layers. Soon after I added a final touch with a orange glint over the top (an orange gradient layer with a opacity of 30% placed above the white background.) By editing this image it has helped me to create a creative yet balanced image. The creativity comes from the merging of a HDR image and portrait photograph and the balance comes from the equal amount of editing on the picture as a whole.
A black & white photograph - Showing tonal range in a monochrome image.
Firstly I chose an image that I felt was strong and with black and white adjustment layers it would bring out the strong detail within the image.
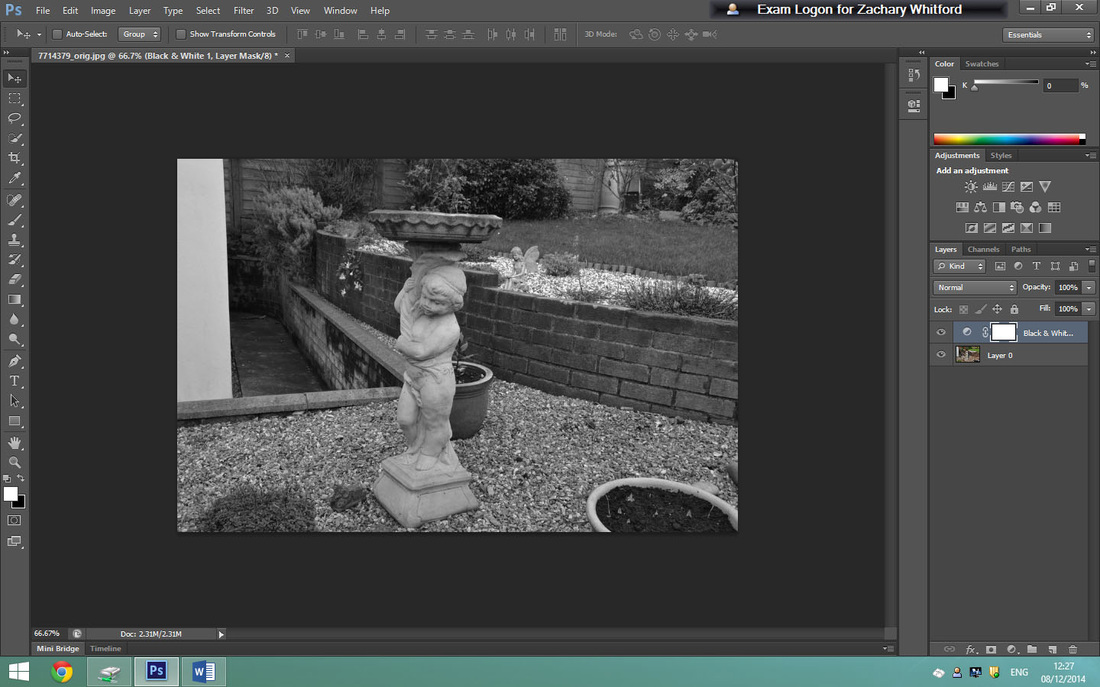
Next I located the adjustment layers which are right above the layers section on the right hand side and selected black and white as an adjustment layer. It then added it and placed it above the original photograph making it Black and white.
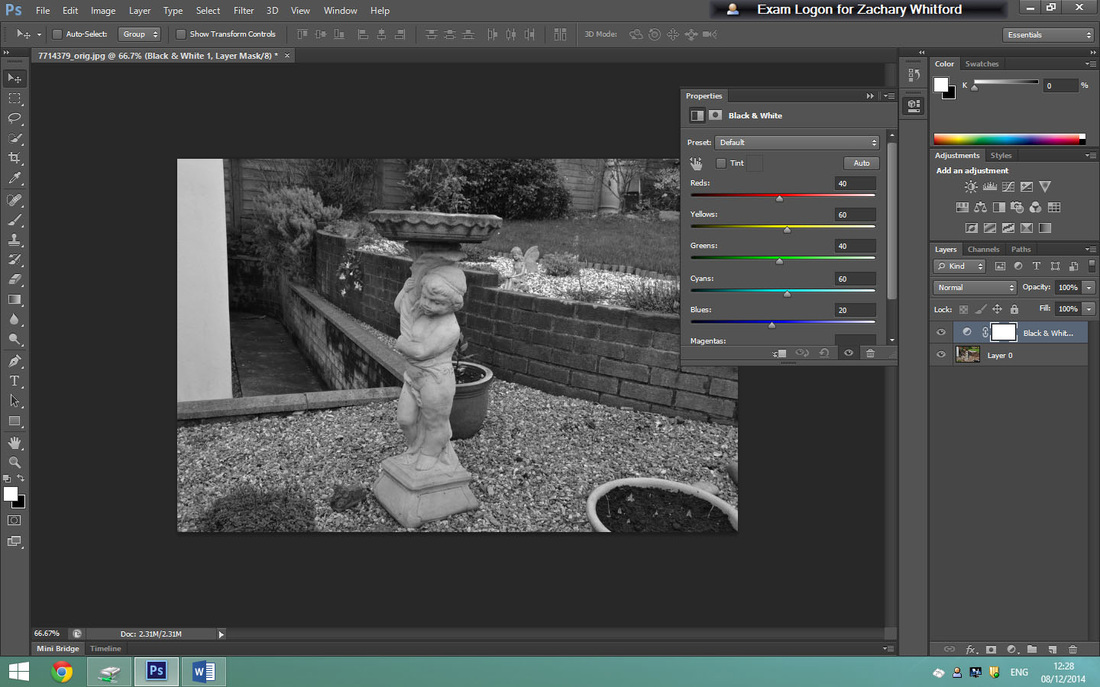
After,I figured that it would retry the black and white photograph, although this time change some of the characteristics. I felt that it would be best to do this because that way I could make a better photo because its more specific to what I am looking for. By editing the photographs like this you have control of the colours meaning it can change key elements of the photograph which can potentially make the photo a higher quality, seeing as you can change some of the characteristics to suit your scheme of work/fit in with your theme.
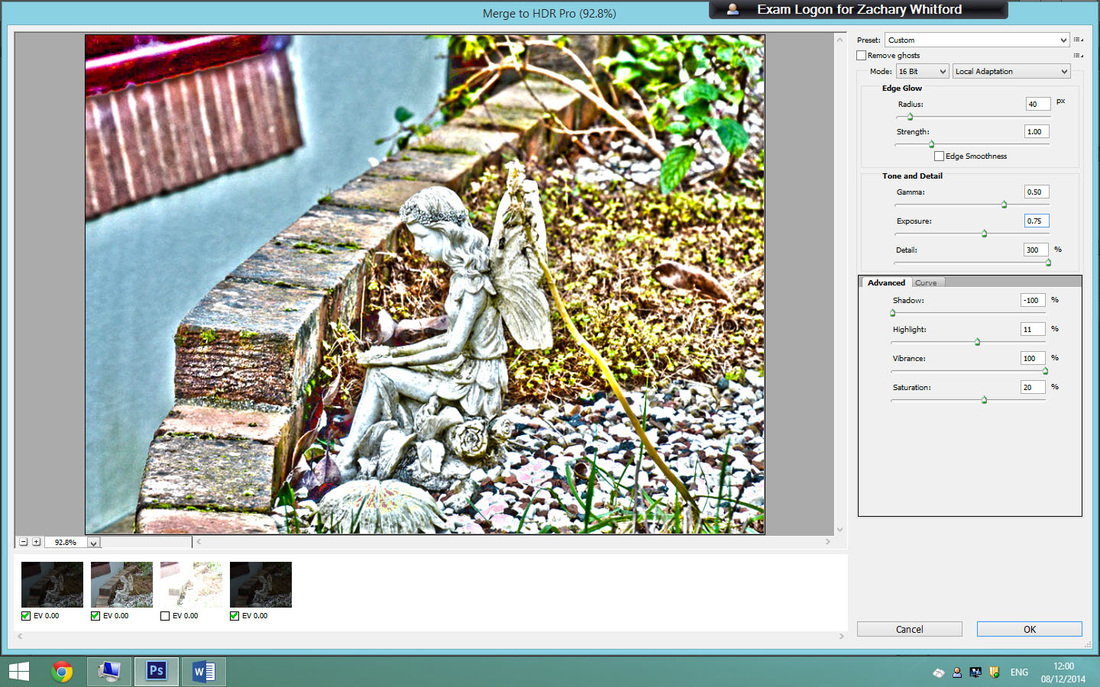
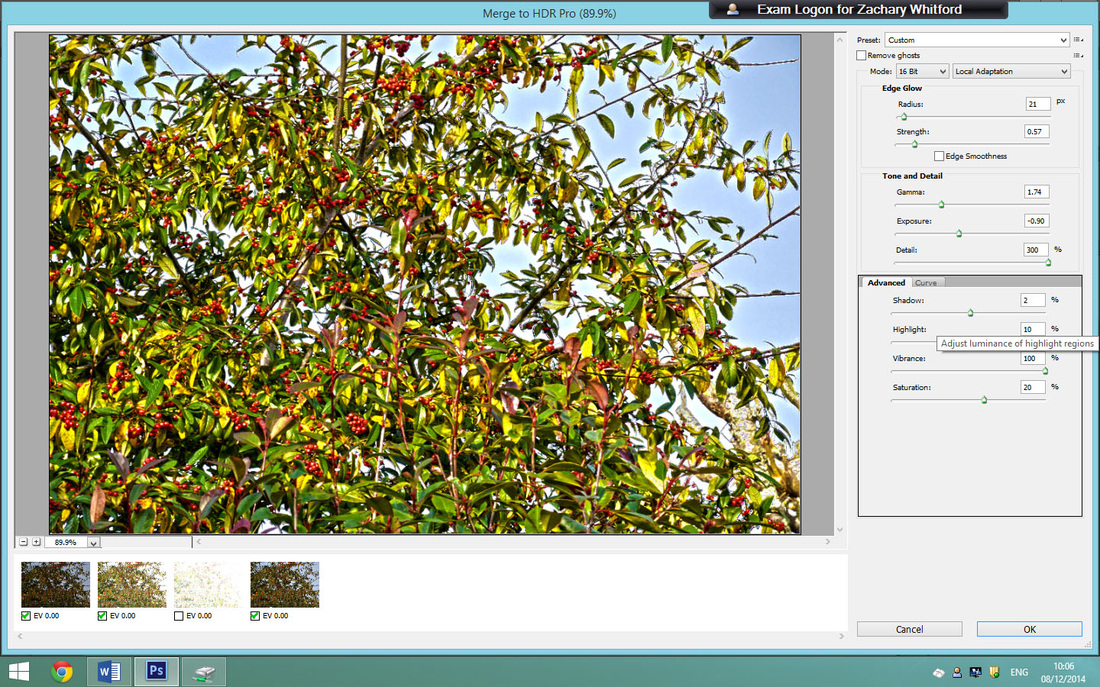
Next is a HDR image. To create this HDR image via Photoshop I located file, automate and convert image to HDR. This brings up the window which is shown above, from here we can adjust all types of settings. I decided to adjust some settings. First of all I increased detail to 300% this gives a slight over exposed view to the image and outlines everything perfectly. By adding detail it helps to create more definition within the photograph as well as this I used the advanced settings like shadow, highlights, vibrancy and saturation. All of these settings created a vibrant yet effective image. I tried to keep the complexity of the HDR image simple, in other words I wanted to keep it HDR so that there weren't any other techniques added to this image, the reason behind this is because I wanted to really focus on the settings that you have open when creating the HDR image.
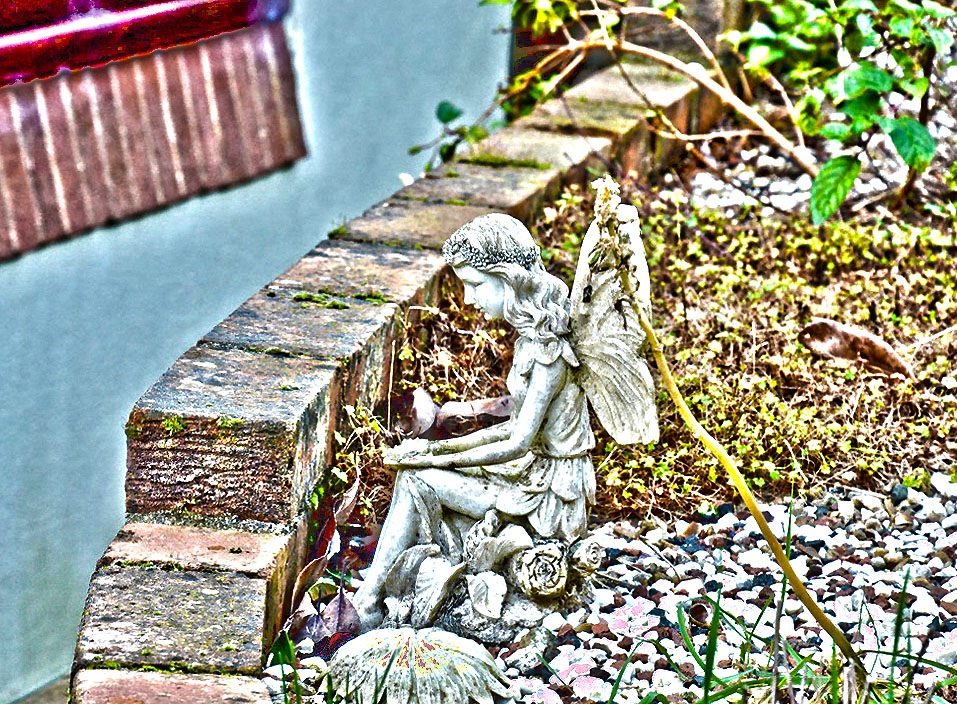
This is the final image from the HDR section. Explained above
